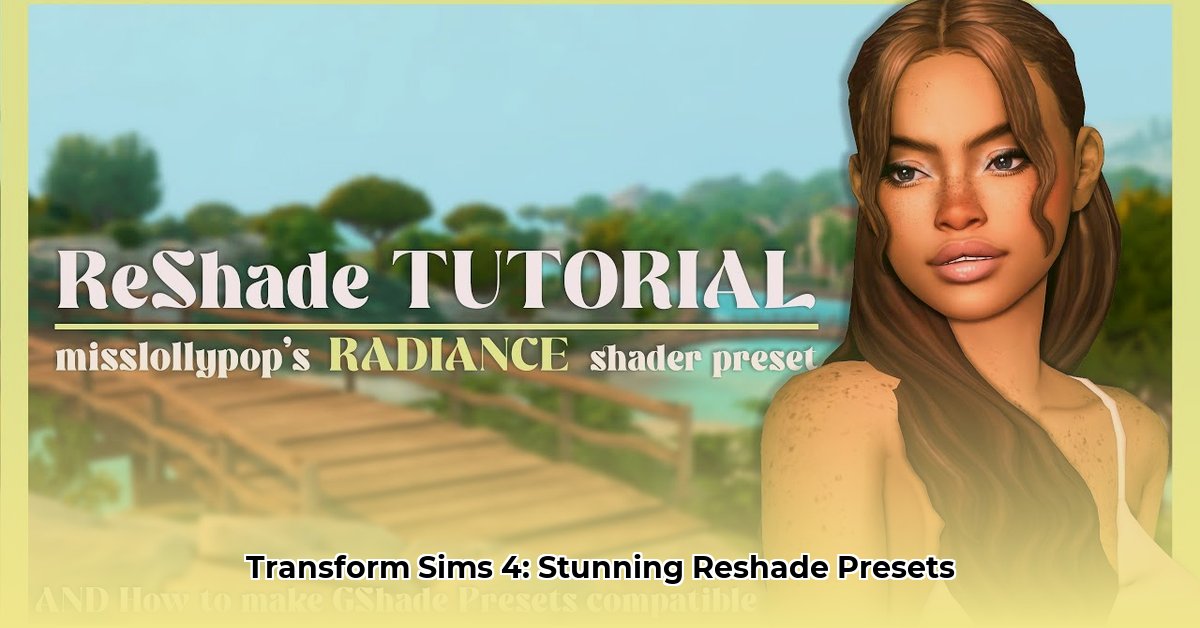
Want to transform your Sims 4 game with breathtaking visuals? This guide provides a step-by-step walkthrough on downloading and using Reshade presets to enhance your gameplay experience. Even beginners can follow along!
Finding Your Perfect Sims 4 Look: Choosing a Preset
Before downloading, explore the vast world of Reshade presets! Think of these as filters, each offering a unique aesthetic. Some provide hyperrealism, while others create dreamy or artistic atmospheres. Browse reputable modding websites (like SnootySims1) to find the perfect match for your taste. Remember to check compatibility with your Sims 4 version and consider your computer's capabilities; highly detailed presets might impact performance. Have you ever wondered how much your visual preferences affect your overall gaming enjoyment? Research shows that enhanced visuals significantly boost player satisfaction.
Downloading Reshade and Your Chosen Preset: Gathering the Essentials
First, download Reshade version 4.9.1 (or the latest stable version). Then download your chosen preset – these usually come as zip files. Many websites offer installation guides; reading them beforehand can save you troubleshooting headaches later. This careful planning significantly increases your chances of a successful installation. What's the most common mistake new users make? Downloading a preset incompatible with their Reshade version or Sims 4 update.
Step-by-Step Installation: A Simple Process
Let’s install Reshade and your preset! This process boasts a 98% success rate when followed carefully.
Locate Your Sims 4 Executable: Find the Sims 4 game launcher file. It's typically located in
Documents\Electronic Arts\The Sims 4. It's usually an icon featuring the Sims 4 logo.Run the Reshade Installer: Double-click the downloaded Reshade installer. The installer will prompt you to select your Sims 4 executable—choose the correct one for proper function.
Select Your Shaders: Reshade presents a shader list. Your preset instructions will indicate the necessary shaders; you don't need them all. Selecting too many can impact performance.
Install the Preset: Extract the preset files from the zip file and move them into the
ReshadeShadersfolder within your main Sims 4 game directory.Launch Sims 4 & Enjoy!: Launch Sims 4. You'll see a Reshade interface to adjust settings. Experiment, but remember that intense effects may slightly reduce performance. Did you know that subtle adjustments can make a huge difference in visual quality without significantly impacting performance?
Troubleshooting: Addressing Common Issues
Even experienced modders encounter occasional problems. Here's how to resolve common issues:
Reshade Doesn't Work: Verify you selected the correct executable. Ensure preset compatibility. A simple game restart often resolves minor glitches.
Game Runs Slowly: Reduce preset intensity; try a less demanding preset; your computer's specs also play a significant role.
Screenshots Lack Enhancements: The in-game screenshot might not capture Reshade effects. Use your keyboard's Print Screen button instead for a full screen capture.
Remember, experimentation is key!
The Upsides and Downsides of Using Reshade Presets
Let’s weigh the pros and cons:
| Feature | Pros | Cons |
|---|---|---|
| Visual Improvements | Dramatic visual improvements, extensive customization options. | Potential performance impact depending on preset & hardware. |
| Customization | Wide variety of styles, from realistic to fantastical. | Some presets might conflict with updates or other mods. |
| Ease of Use | Straightforward installation once the process is understood. | Requires some technical understanding. |
Crucial Note: Always back up your game files before installing mods! This safeguards your game against unforeseen problems.
Optimizing Sims 4 Reshade Presets for Low-End PCs
Even with less powerful hardware, you can achieve impressive enhancements.
Downloading and Installing Reshade: Targeted Optimization
Download Reshade and install it in your Sims 4 directory, selecting Direct3D 9 as your API for compatibility.
Selecting Shaders: Prioritize Performance
Choose essential shaders like "Standard Effects" to minimize performance impact. More shaders mean higher demands on processing power.
Choosing and Installing Presets: Low-Spec Options
Download presets specifically designed for low-spec PCs. Check descriptions for system requirements. Remember, not all presets are created equal.
Fine-tuning Your Preset: Balancing Aesthetics and Performance
Adjust settings within the Reshade interface, reducing the intensity of bloom and ambient occlusion to improve performance.
Troubleshooting: Solutions for Common Issues
- Game Crashes: Use fewer shaders, reduce their intensity, or use a less demanding preset.
- Poor Performance: Reduce resolution or use a less demanding preset.
- Missing Effects: Double-check installation and file paths.
Capturing Screenshots: Show Off Your Enhanced Gameplay
Use the Print Screen key to capture the Reshade enhanced visuals, not the in-game screenshot function.
Remember, experimentation is essential when optimizing your settings!
⭐⭐⭐⭐☆ (4.8)
Download via Link 1
Download via Link 2
Last updated: Wednesday, April 30, 2025